Guides · Getting started
Set up your clinic's details and email
Add your clinic's details and locations, choose the address your clinic emails from, and confirm where replies go.
An owner or admin can change the clinic's details. Only an owner chooses the clinic's email address.
Add the clinic's details
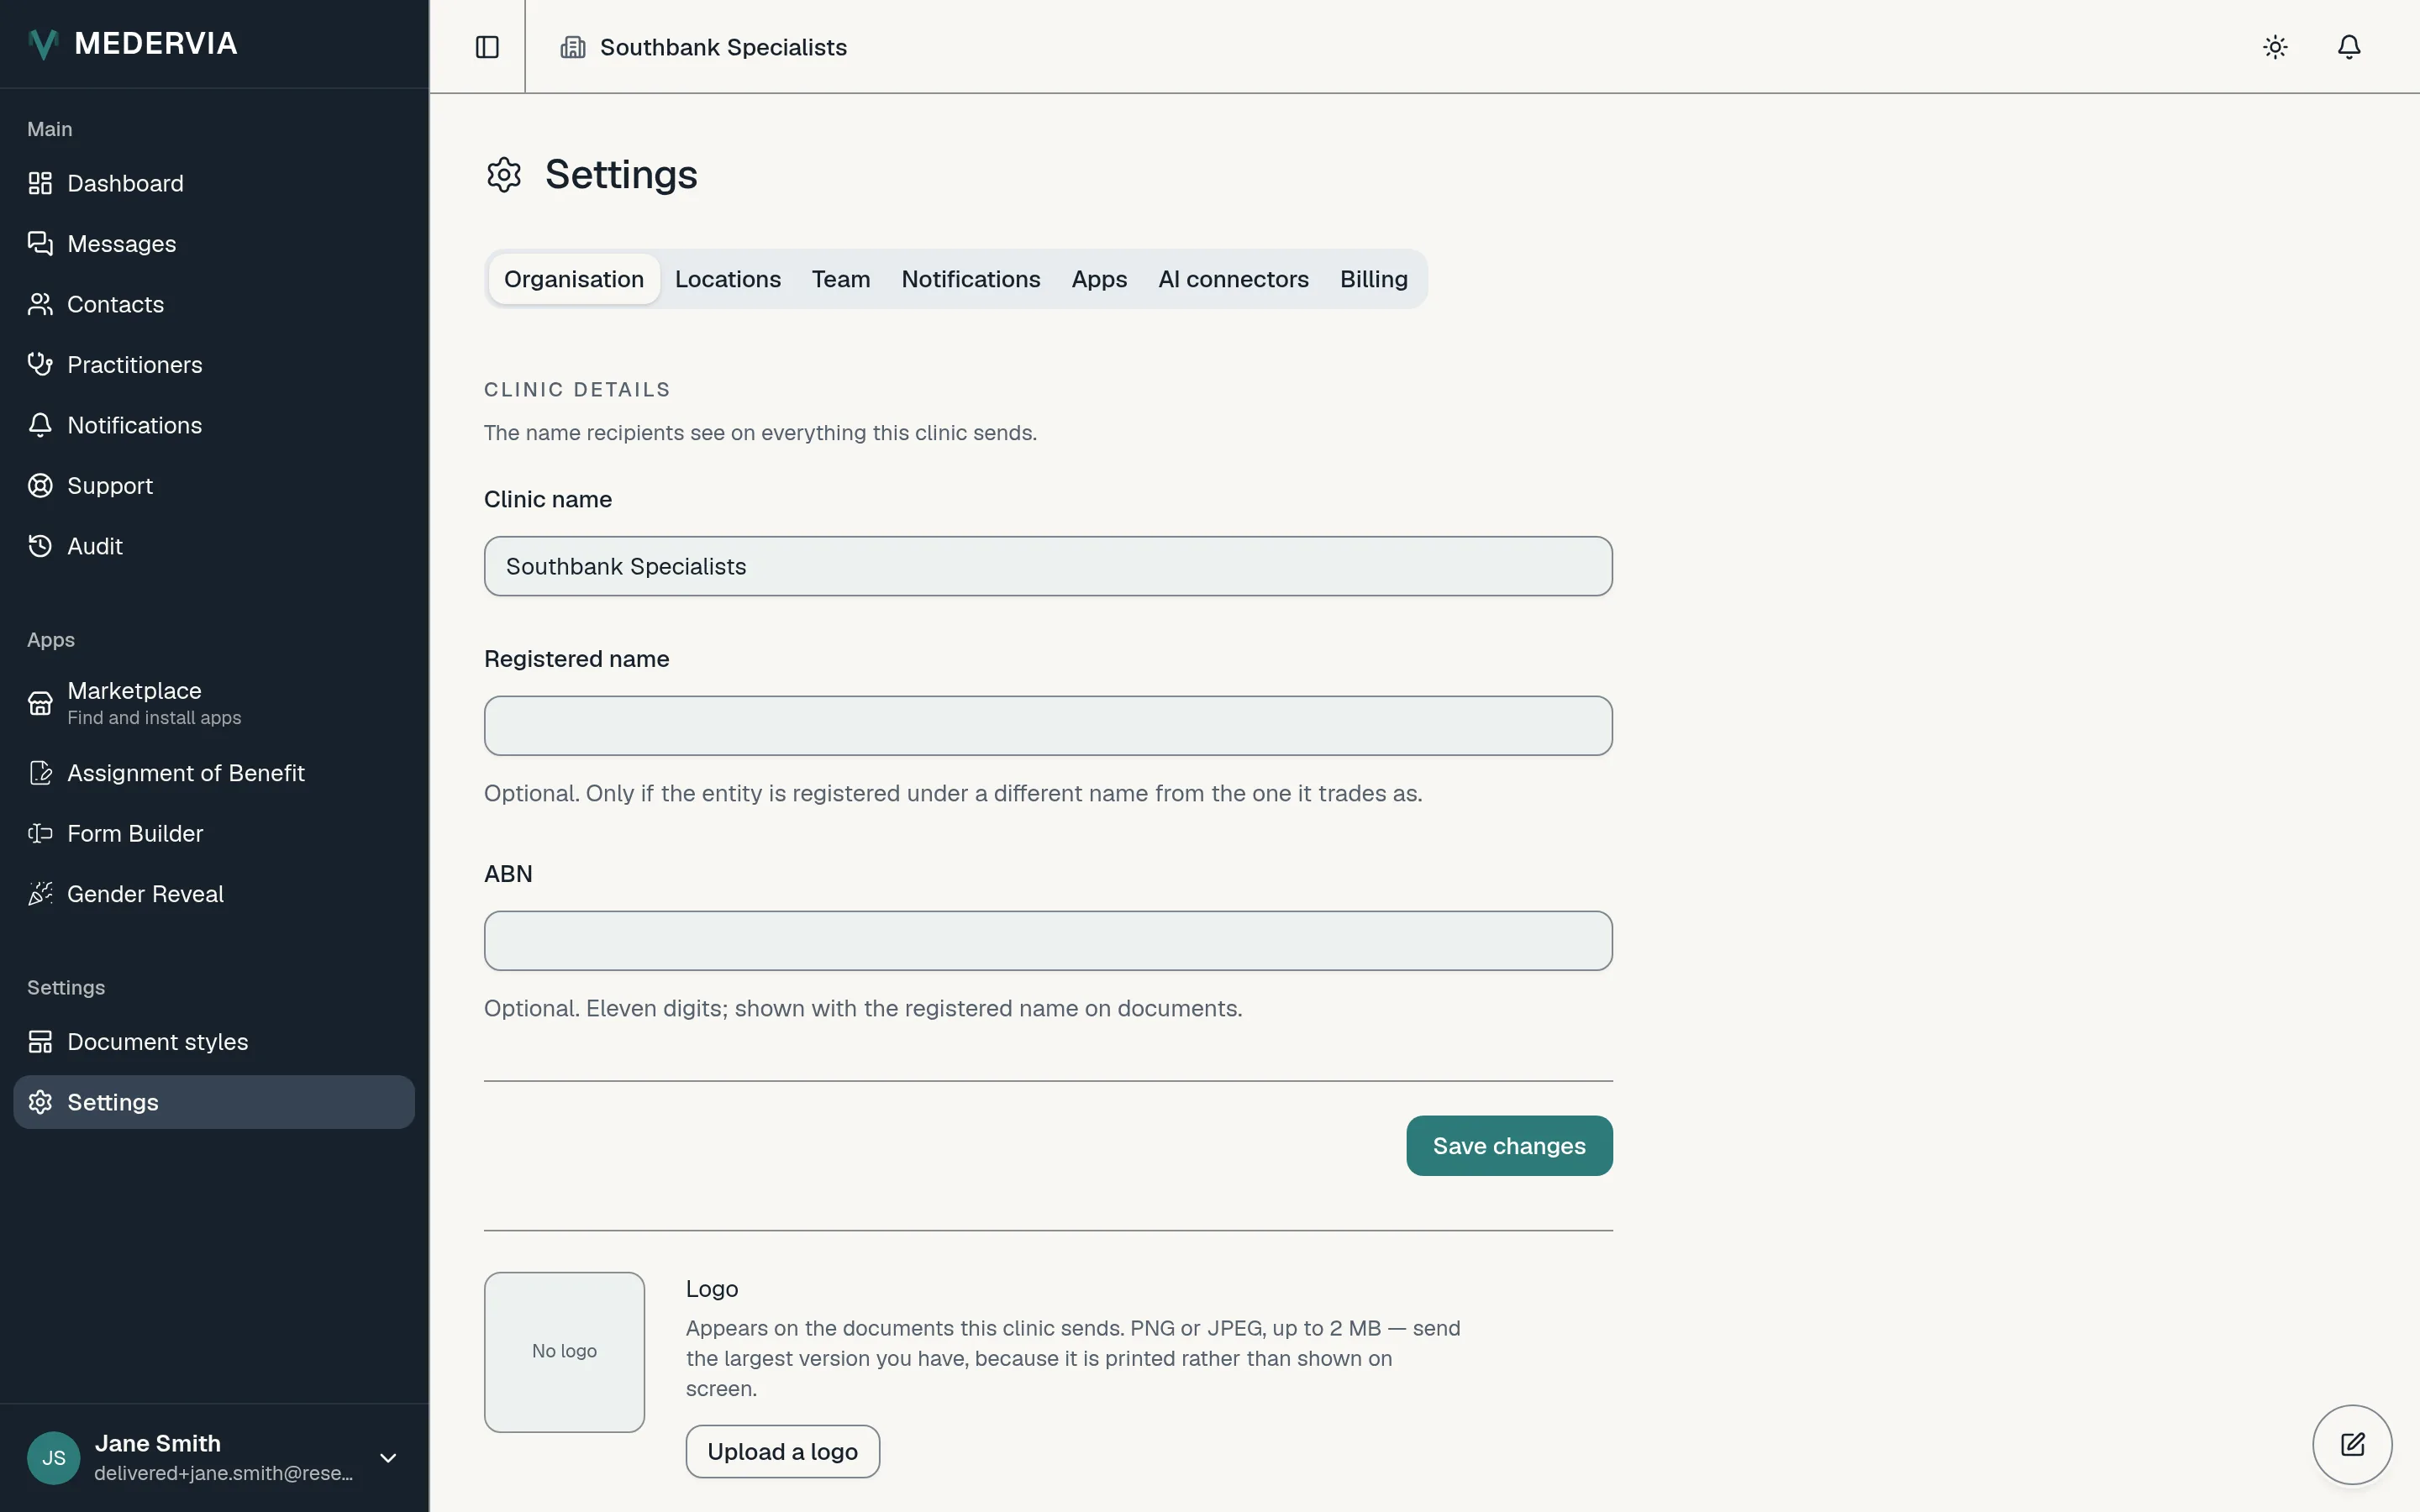
Go to Settings and open the Organisation tab. Fill in the clinic's name, its registered name if that is different, and its ABN, then press Save changes.
You can add your logo here too, as a PNG or JPEG up to 2 MB. It appears on every document your clinic sends.
Choose the address your clinic emails from
Patients receive your clinic's emails from an address of its own at medervia.com, for example southbank@medervia.com.
Under How this clinic's email looks, press Choose this clinic's address and type the name you want before @medervia.com. Then press the button to take that address.
The address cannot be changed later, so use the clinic's name rather than a person's.
Confirm where replies go
When a patient replies to one of your clinic's emails, the reply goes to your clinic's own mailbox. Medervia checks that someone reads it before emailing any patient on your behalf.
Next to Replies go to, press Send a confirmation email. Open that email in the clinic's mailbox and press Yes, this mailbox is read.
Open the confirmation from the clinic's mailbox, not your own. That is what proves the mailbox is read.
Add your locations
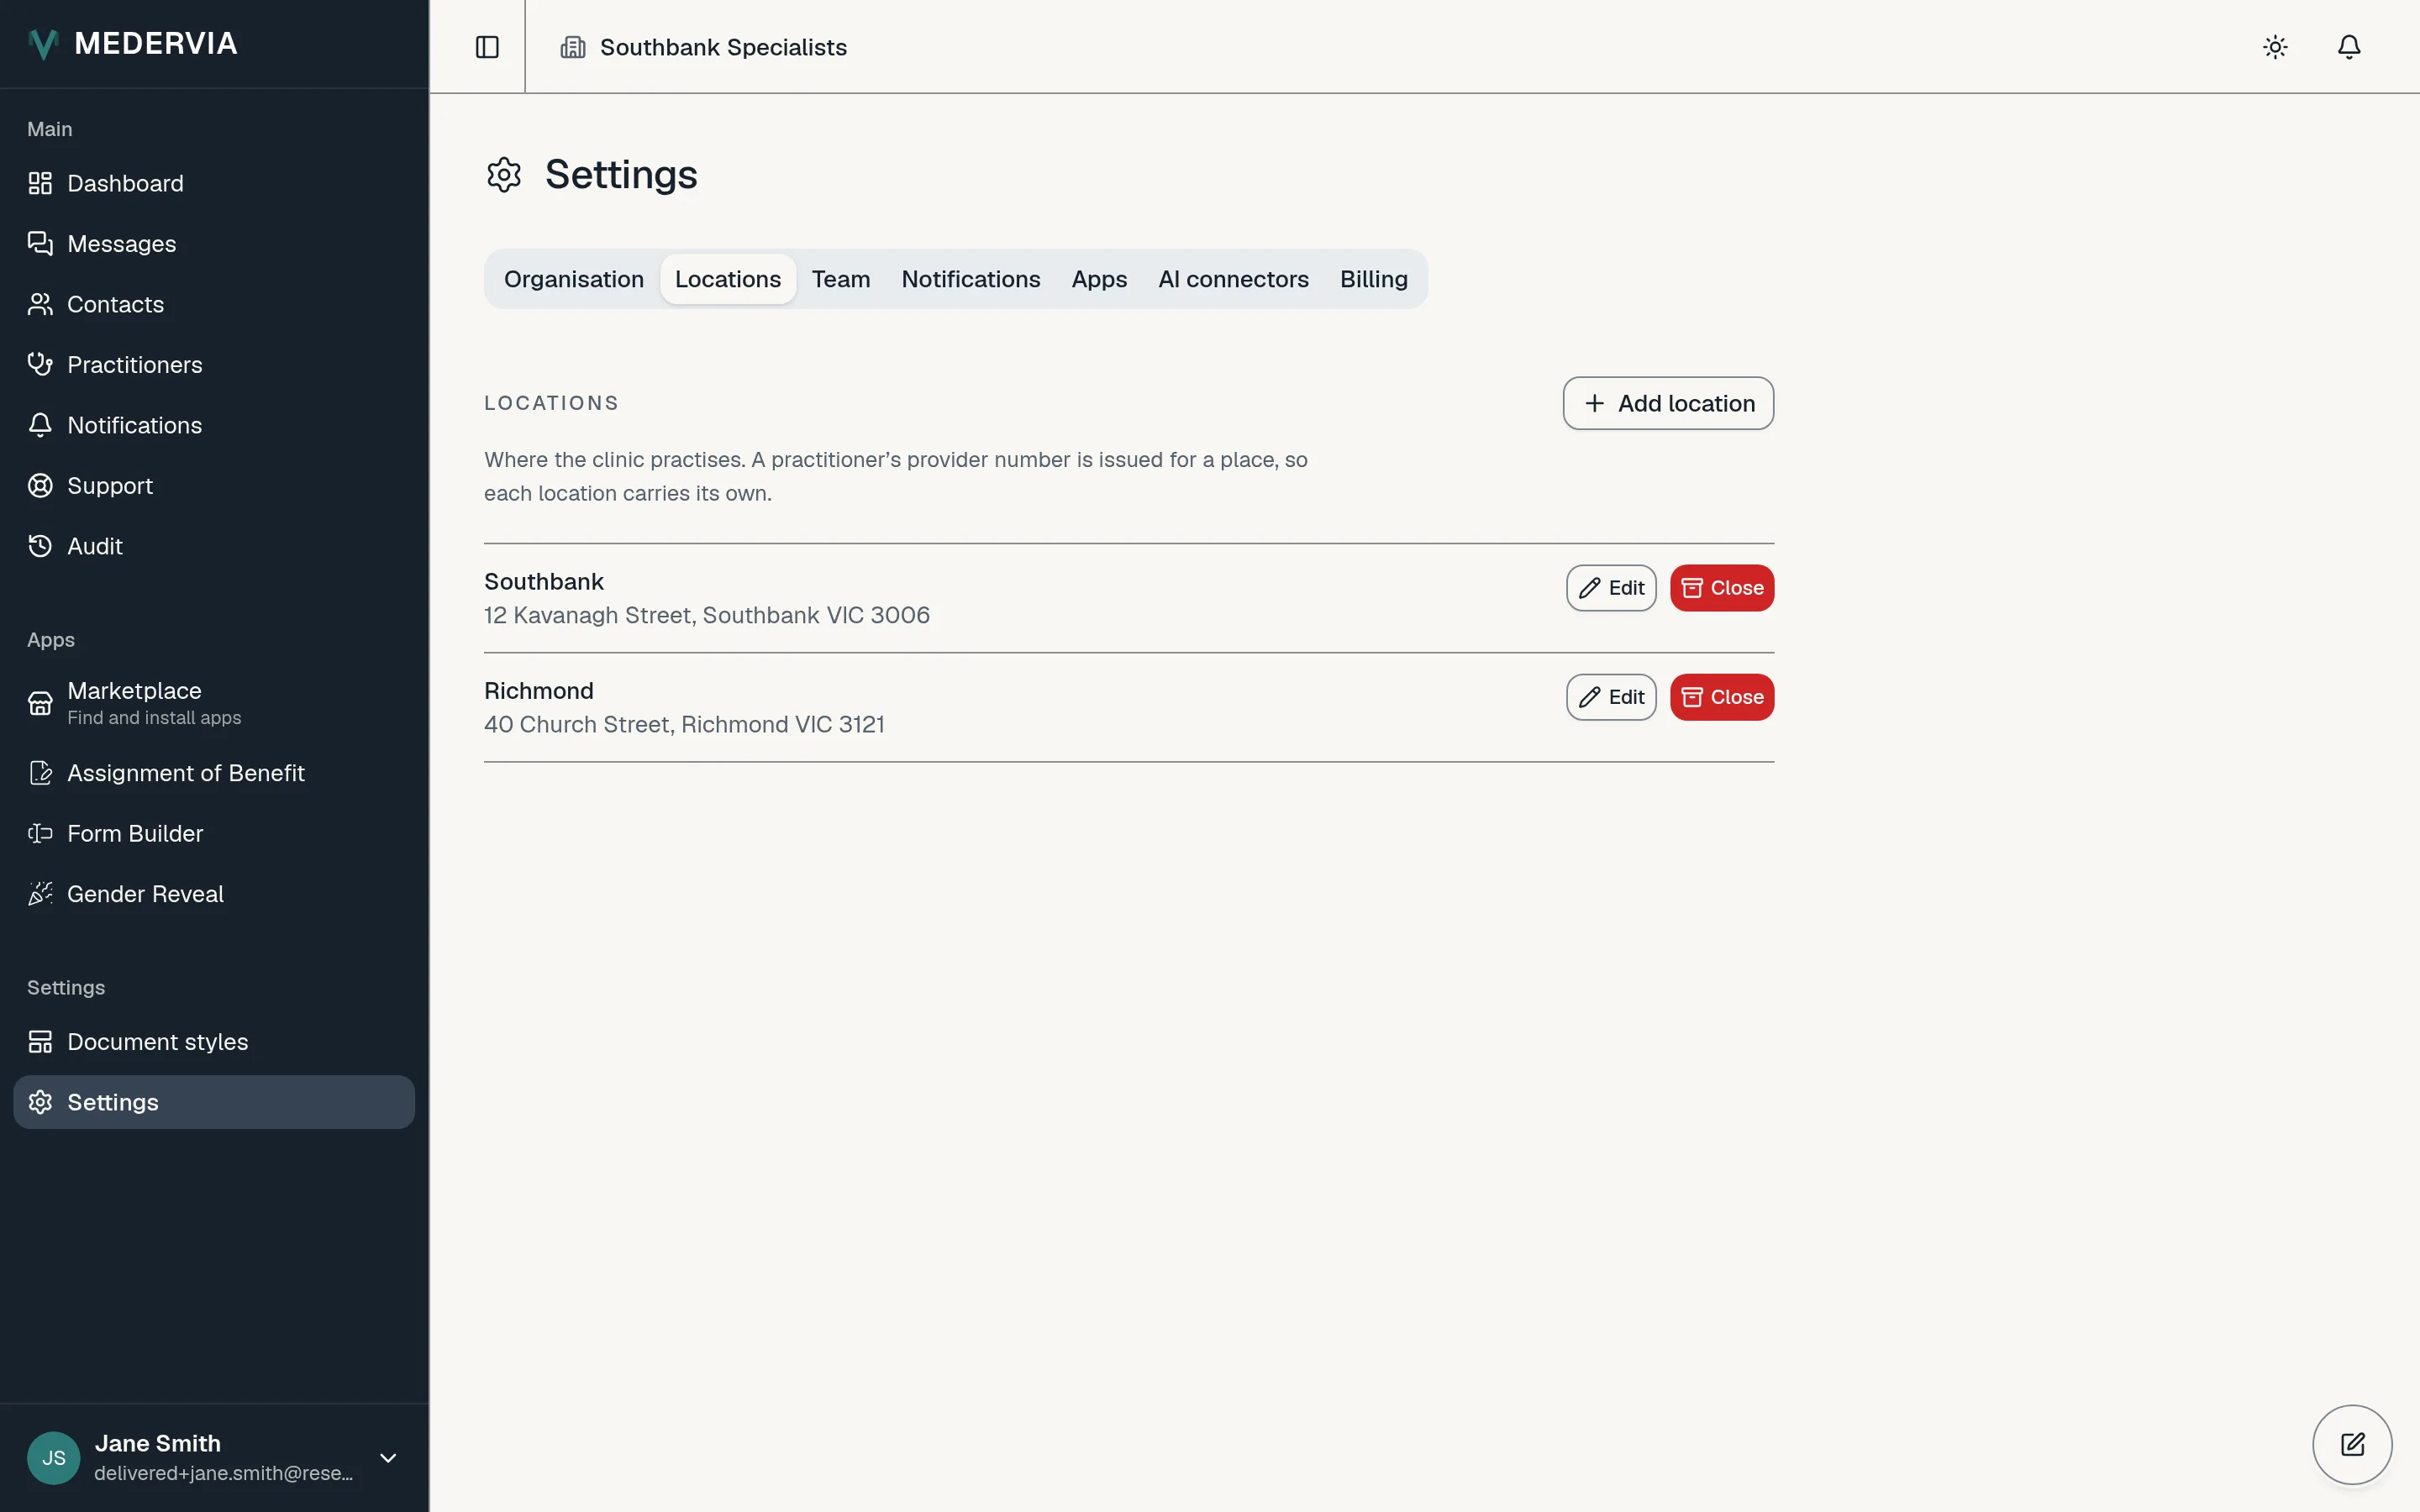
Open the Locations tab and press Add location for each place you practise, with its address. Practitioners' provider numbers are recorded per location, and documents show the address.
Next
Still stuck? Open a ticket from Support in the app, or send us a message.